Auto Trading Bots
Accumulator Bot on Volatility 10 for Binary Bots
Learn how to configure the accumulator bot on volatility 10 index with binary bots. Master deriv automation and execute free deriv bot strategies today.
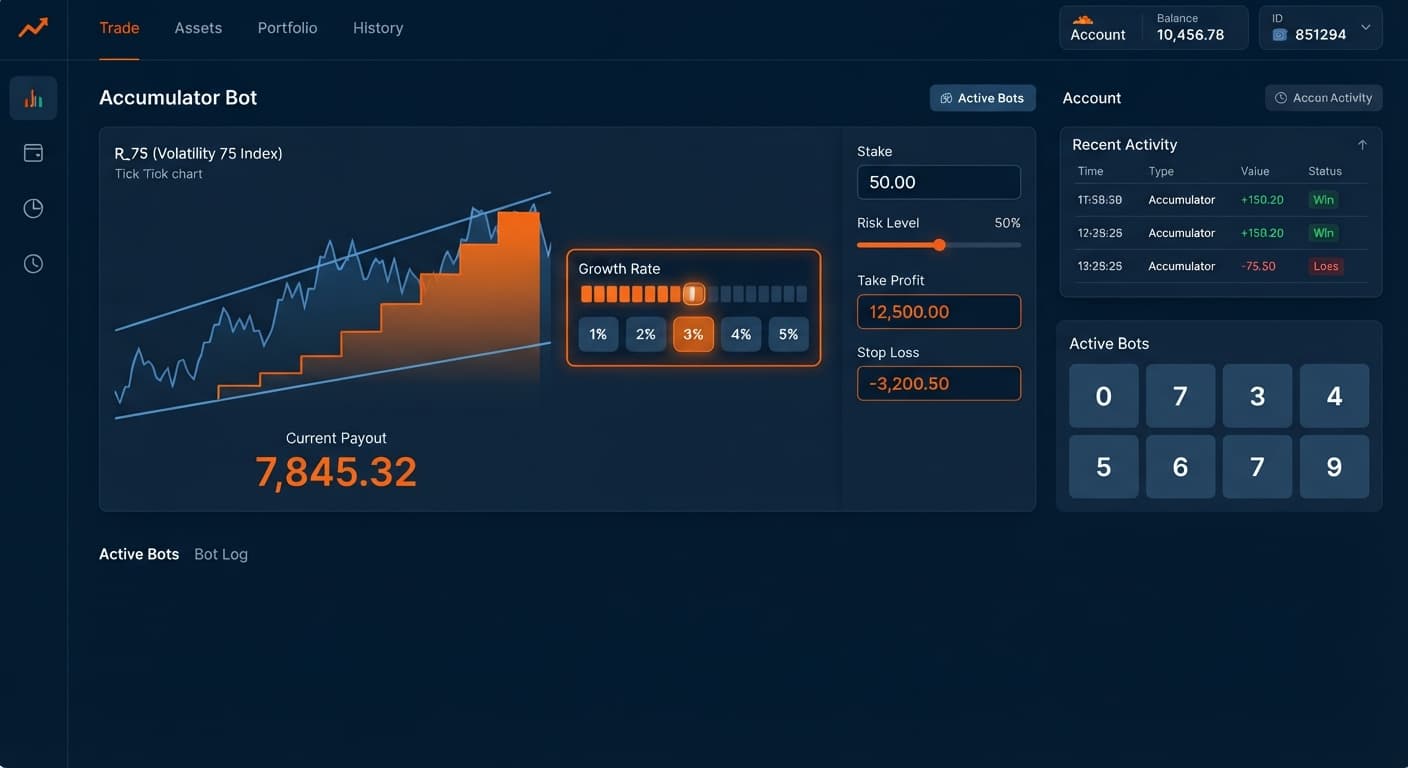
To set up an automated accumulator bot, open the free Accumulator Bot page, connect your Deriv API token, select a volatility index, set your Growth Rate, and establish clear loss boundaries. This accumulator bot deriv bots guide shows you how to automate contract execution, compound ticks safely, and enforce automated exit rules without staring at a chart for hours.
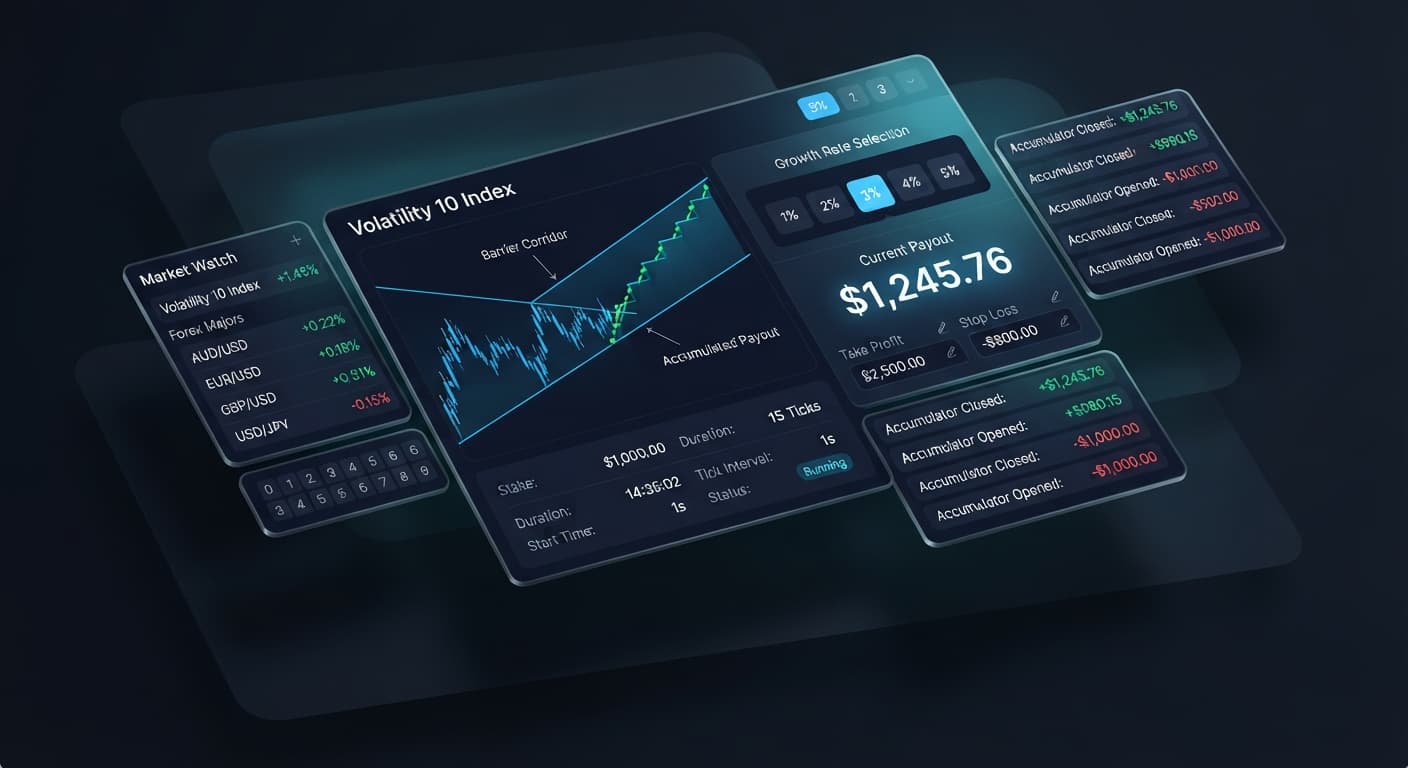
Accumulator contracts (ACCU) compound your stake by a fixed percentage on every tick that stays within a calculated price barrier. Manual accumulator trading requires split-second timing to cash out before a tick breaks the barrier range. Running automated deriv bots removes manual execution delay by exiting the position automatically when your target tick count or payout target is reached.
Before launching your first session, make sure you've prepared these items:
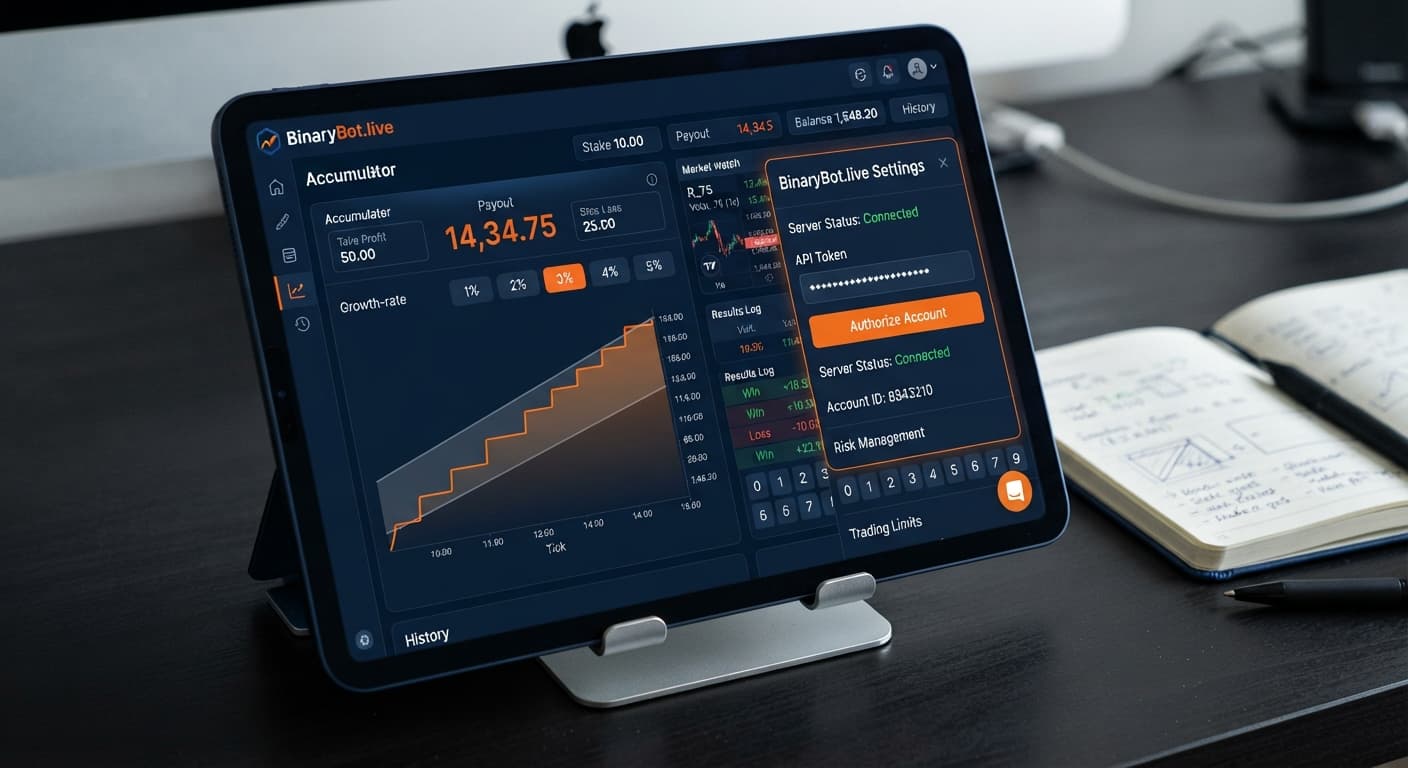
Copy your API token from your Deriv account security menu. Navigate to the top panel of the web application and paste your string into the token input field, then click the connect button.
The application connects directly to Deriv over their official API. Once connected, your account balance appears in the upper right corner of the dashboard, confirming that the token is active. If you're using a virtual balance, you'll see your demo balance displayed.
Navigate to the market dropdown menu to select the asset for your session. Accumulator contracts on this interface trade exclusively on Volatility indices.
Select a market like Volatility 10 Index for steady, low-dispersion tick movement, or Volatility 100 Index if you want faster tick turnover. The selected asset determines how frequently price updates occur and how wide the average tick variance is relative to your barrier limits.
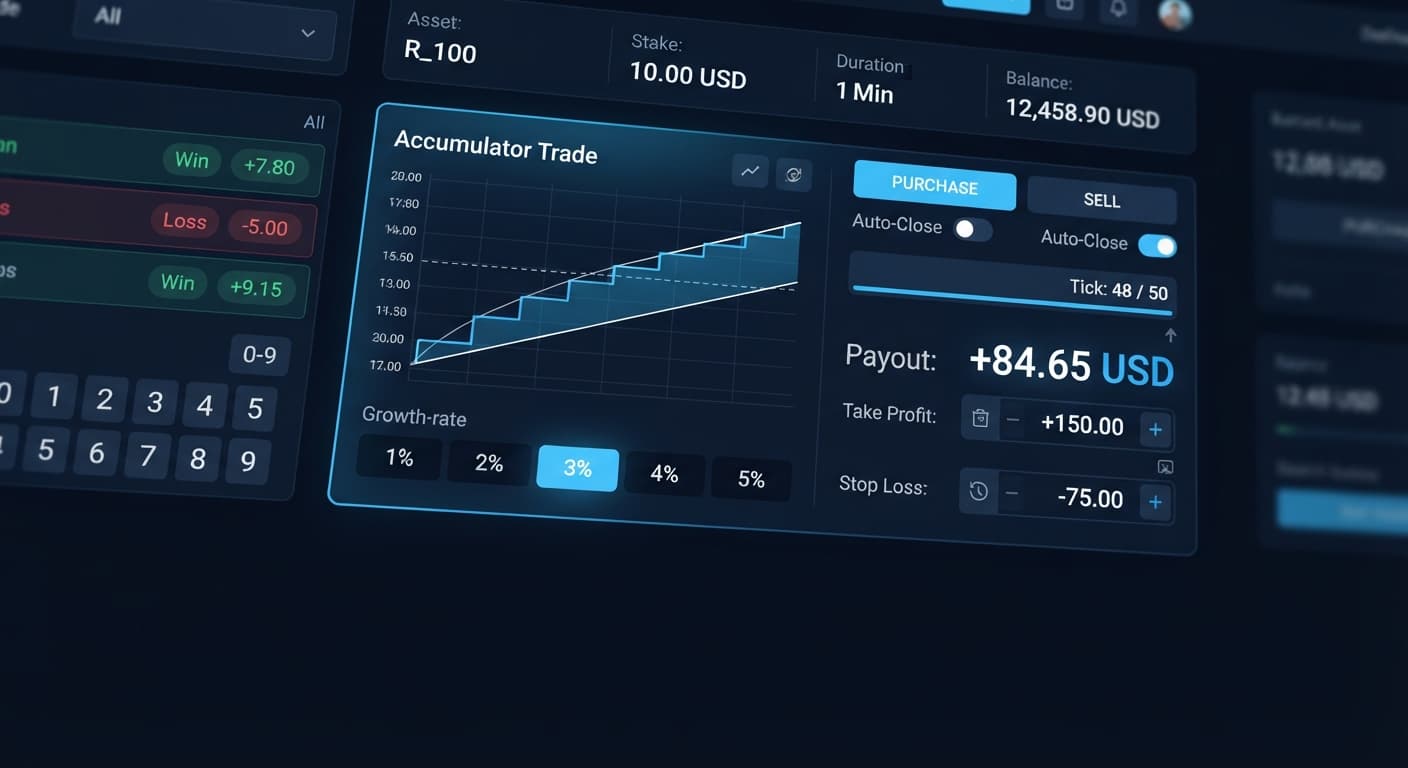
Locate the Growth Rate control on the main parameters panel. Select one of the available percentage options: 1%, 2%, 3%, 4%, or 5%.
[ Growth Rate Selector ]
( ) 1%   (*) 2%   ( ) 3%   ( ) 4%   ( ) 5%
Your choice dictates both compounding speed and barrier width:
For your initial automated runs, pick 1% or 2% to give your trades breathing room while observing how binary bots manage position lifespans.
Before starting any execution loop, define your target parameters on the control board using these exact inputs:
For instance, on a $100 demo balance, setting take profit to $1.50 per contract, target profit to $10.00, and stop loss to $15.00 keeps your risk structured and prevents runaway losses.
Click the start execution button to begin trading. The bot submits an ACCU contract request directly to Deriv.
The live interface updates with real-time trade output:
If price breaks out of the calculated range before your take profit triggers, the trade closes as a knockout, and the bot evaluates your total session equity against your stop loss setting before deciding whether to open the next position.
Not all synthetic markets handle accumulator ranges the same way. Choosing the wrong asset for a high growth percentage often results in instant knockouts. The table below compares three supported markets across key trade metrics.
| Market Metric | Volatility 10 Index | Volatility 75 Index | Volatility 100 (1s) Index |
|---|---|---|---|
| Tick Interval | 2 Seconds | 2 Seconds | 1 Second |
| Typical Tick Movement | Low (0.01 - 0.05 pts) | Extreme (10.0 - 50.0 pts) | Moderate (0.1 - 0.5 pts) |
| Barrier Knockout Risk | Low | High | Very High |
| Optimal Growth Rate | 2% - 3% | 1% | 1% - 2% |
| Target Tick Duration | 10–15 Ticks | 3–5 Ticks | 5–8 Ticks |
Volatility 10 Index provides the most consistent environment for automated accumulator testing. Its low tick dispersion lets 2% and 3% growth setups survive enough consecutive ticks to hit compound targets reliably.
Conversely, Volatility 75 Index features extreme tick jumps. A single two-second tick often travels several standard deviations, instantly breaching narrow accumulator barriers. If you run accumulators on Volatility 75 or Volatility 100 (1s), stick exclusively to a 1% Growth Rate and target short tick durations.
Automating contract entries with binary bots eliminates emotional hesitation, but bad settings will drain an account fast. Here are four common failure modes and the exact control setups needed to avoid them.
Setting your Growth Rate to 5% looks appealing because payouts compound fast. However, the upper and lower price barriers sit tight against the current price. In choppy synthetic markets, normal tick noise constantly triggers early knockouts, wiping out initial stakes before compounding takes off.
Some traders analyze previous tick digits, assuming that a streak of even or odd outcomes means price is due to settle into a quiet channel. Deriv synthetic index ticks are independent random draws. Past tick outcomes do not alter the probability of the next tick staying inside an accumulator range.
Leaving an automated script running without session boundaries inevitably leads to a drawdown string that erases earlier gains. The longer a bot runs without cash-out rules, the higher the probability of encountering an extended losing streak.
Deploying new market choices or higher stake amounts straight to a live trading account usually ends badly. Slip-ups in decimal placement or underestimating market volatility cause fast real-money drawdowns.
Try it yourself on Accumulator Bot using a demo balance first.
If you don't have one yet, create a free Deriv account.
Trading involves risk. Past performance does not guarantee future results.
Related: Why Your Accumulator Bot Is Not Working on BinaryBot.live
Related: Accumulator Bot API Token Setup for Deriv Bots
Related: Accumulator Bot Settings: Configure Growth and Stops
Free automated accumulator trading bot for Deriv with take profit, target profit and stop loss controls, plus real-time chart analysis for volatility indices.
Open Accumulator Bot →Copy a Deriv API token with both Read and Trade permissions enabled from your account security menu. Paste this token into the input field at the top panel of the Accumulator Bot interface and click the connect button.
You'll need to enable both Read and Trade permissions when generating your API token from your Deriv account settings. Without these, the interface won't be able to connect or execute trades.
Accumulator contracts on the Accumulator Bot interface trade exclusively on Volatility indices. You can choose assets like the Volatility 10 Index for steady movement or the Volatility 100 Index for faster tick turnover.
You can select from five growth rate options: 1%, 2%, 3%, 4%, or 5%. Lower rates give you a wider price range and slower compounding, while higher rates narrow the tick range and compound payouts more quickly.
Guides closest to this one.
Learn how to configure the accumulator bot on volatility 10 index with binary bots. Master deriv automation and execute free deriv bot strategies today.
Is your accumulator bot not working? Fix Deriv configuration errors, growth-rate limits, and risk control settings on BinaryBot.live today.
Complete accumulator bot api token setup guide for binary bots. Learn how to connect your Deriv API token for automated volatility index trading today.