Auto Trading Bots
Why Your Accumulator Bot Is Not Working on BinaryBot.live
Is your accumulator bot not working? Fix Deriv configuration errors, growth-rate limits, and risk control settings on BinaryBot.live today.
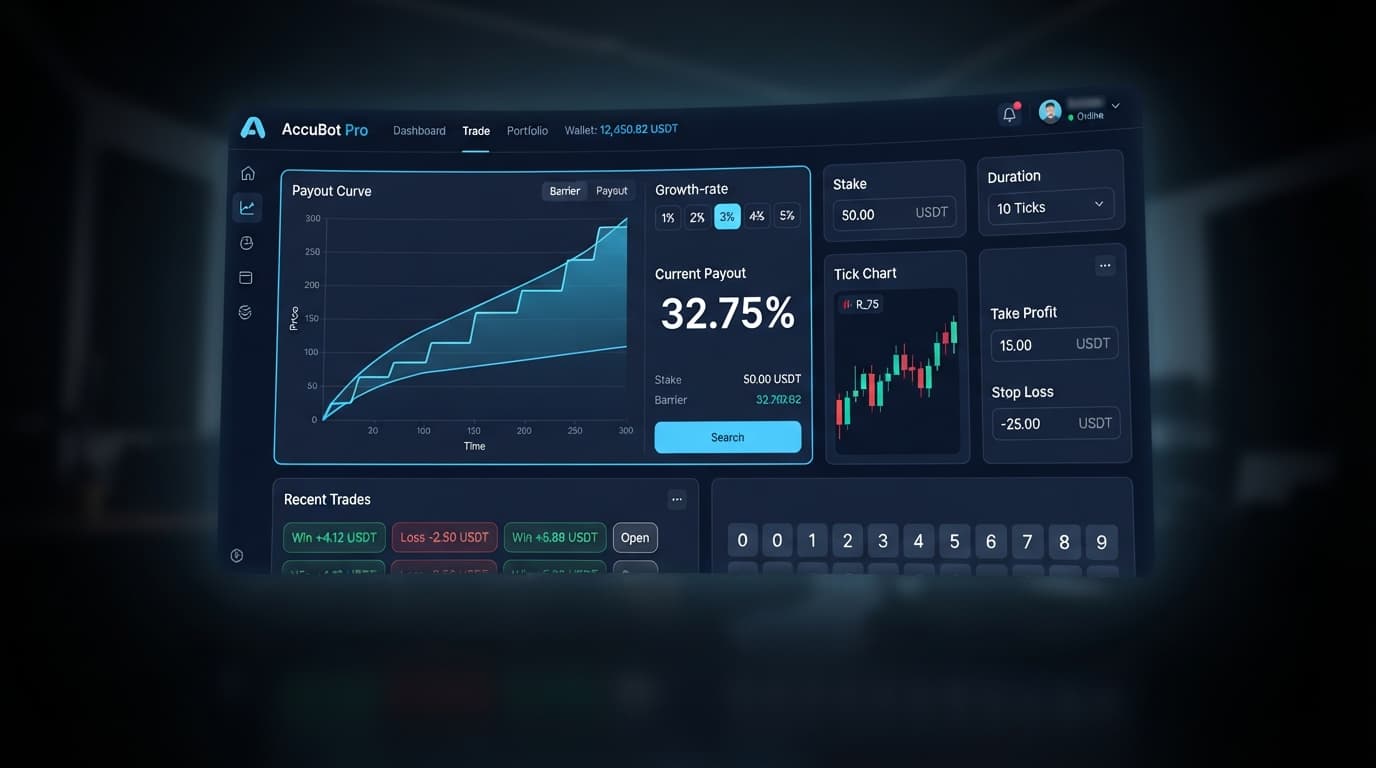
To complete your accumulator bot demo account setup, open the free Accumulator Bot, paste a demo API token generated from your Deriv virtual account, select a Volatility indices market, and set your parameter limits. The bot connects directly to Deriv over their official API, running automated ACCU contracts against your virtual balance without risking capital. Testing your automated strategies on a demo balance lets you evaluate how price ranges react across tick counts before trading live.
Running an accumulator bot demo account setup first is standard practice for traders testing automated execution. Deriv Accumulator contracts pay out based on tick longevity rather than direction. Every tick the current price remains inside a calculated price range, your payout increases by your selected rate. The trade ends automatically when your target profit hits, when you manually close the position, or when price steps outside the allowable range limit, which knocks out the contract and forfeits the accrued payout.
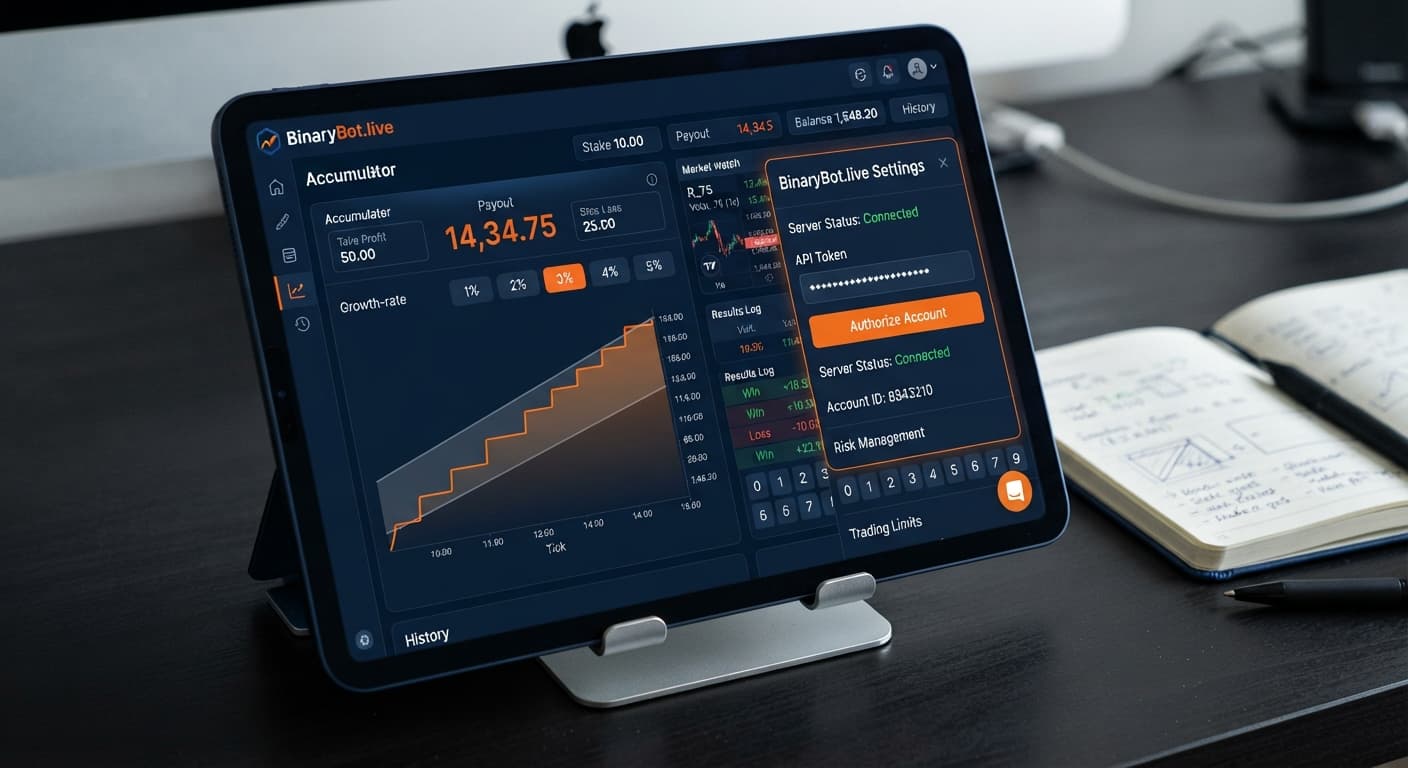
When you open the web interface, you'll see a clean, single-screen control panel designed for immediate execution. Unlike general binary bots that require complex block building, this interface presents every control on one screen.
+-----------------------------------------------------------------------+
|  DERIV API TOKEN: [ xxxxxxxxxxxxxxxx ]  [ CONNECT DEMO ACCOUNT ]      |
+-----------------------------------------------------------------------+
|  MARKET SELECTION: [ Volatility 100 Index                   v ]       |
+-----------------------------------------------------------------------+
|  GROWTH RATE:      ( ) 1%   (*) 2%   ( ) 3%   ( ) 4%   ( ) 5%         |
|  TAKE PROFIT:      [ 5.00  ] USD                                      |
|  TARGET PROFIT:    [ 10.00 ] USD                                      |
|  STOP LOSS:        [ 20.00 ] USD                                      |
+-----------------------------------------------------------------------+
|  [ START BOT ]     STATUS: Connected (Demo) | Active Ticks: 0        |
+-----------------------------------------------------------------------+
|  REAL-TIME CHART & TRADE LOG PANEL                                    |
|  Displays live tick price, active upper/lower range barriers,         |
|  compounded payout total, and automatic termination triggers.          |
+-----------------------------------------------------------------------+
Here's what each panel manages:
Growth Rate, take profit, target profit, and stop loss.Note that this interface is strictly designed for ACCU contracts. It doesn't contain digit heatmaps, last-digit analysis grids, or hot/cold stat lists. If you want to analyze digit statistics for contracts like DIGITEVEN or DIGITOVER, you can check out the LDP Analyzer Pro tool on BinaryBot.live instead.
Before touching the bot dashboard, you need a trade token from Deriv that points specifically to your virtual account.
VRTC account number). Never generate a token while viewing your real account balance if your goal is demo testing.Accumulator-Demo.Now bring your token over to the web app to establish a direct connection.
The status indicator next to the form will change to connected, displaying your virtual balance in USD. Because deriv bots hosted here communicate directly with official Deriv endpoints through your browser, your virtual connection remains secure. If the balance doesn't display or shows an invalid token error, verify that you copied the complete string from Deriv without trailing spaces.
Accumulator contracts rely on continuous tick updates, making synthetic index markets ideal due to their 24/7 availability and fixed tick intervals.
For initial tests during your accumulator bot demo account setup, choosing Volatility 10 Index or Volatility 25 Index offers smoother price action with fewer sharp volatility jumps. Highly active markets like Volatility 75 Index or Volatility 100 Index feature larger point swings per tick, which tests upper and lower barrier limits far more aggressively.
Setting your parameters correctly dictates how your automated trading bot manages duration and exposure. Every value must be set before clicking start.
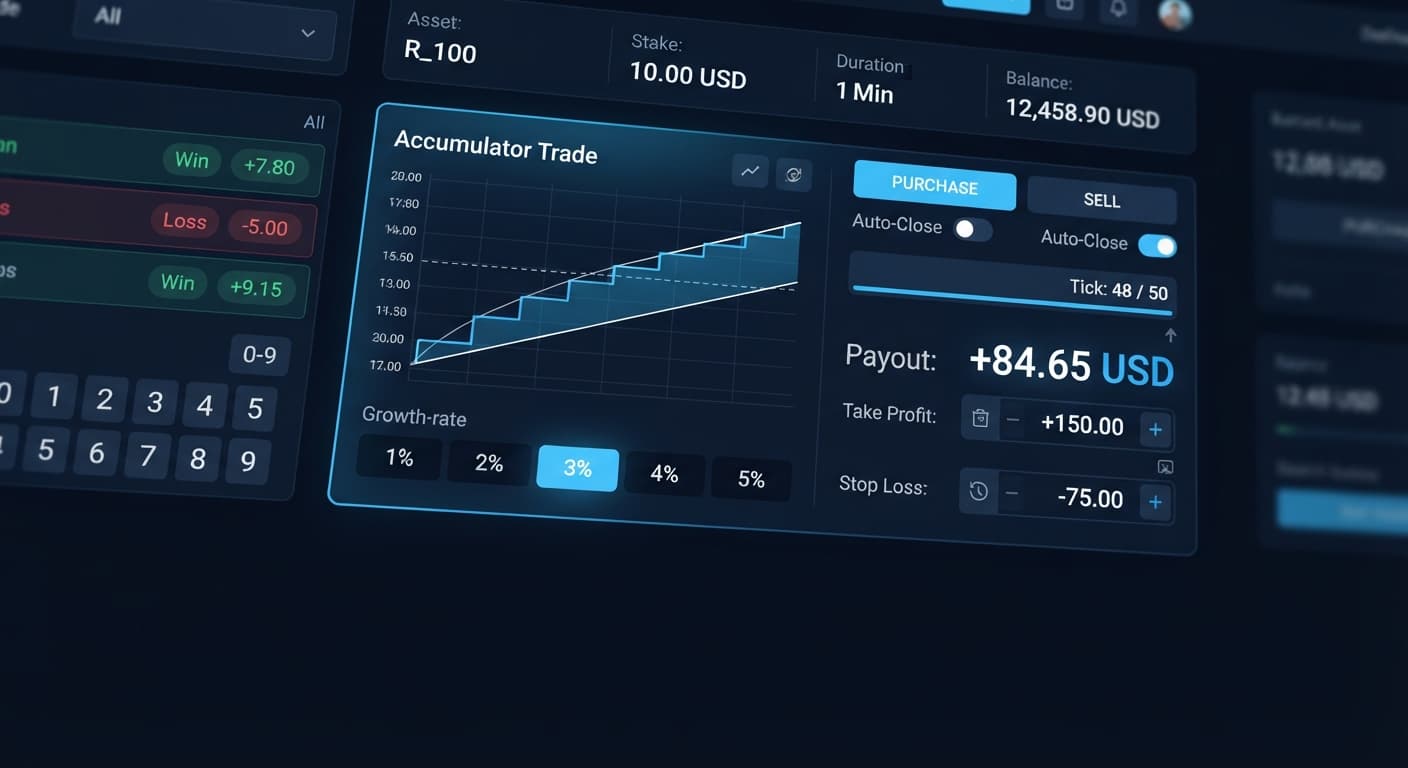
1%, 2%, 3%, 4%, or 5%.1% setting gives you the widest price range cushions on every tick, allowing trades to survive larger tick swings, but compounding occurs slowly.5% setting compounds your payout rapidly, but narrows the upper and lower price barrier significantly. A minor tick tick-swag instantly terminates the trade.2.00) at which an individual active trade should automatically close and harvest profit.10.00). Once cumulative net session gains reach this number, the bot stops launching new contracts completely.15.00). If consecutive knockouts cause total account loss to hit this figure, the bot stops immediately to preserve your balance.Always configure a strict stop loss and take profit before starting the script. Expecting to hit a manual stop button during fast-moving tick cycles is a common mistake that leads to unnecessary drawdowns.
With your token verified and risk parameters saved, you're ready to run automated ACCU execution on virtual funds.
The bot immediately places an ACCU trade on your selected market. As each tick completes, you'll see the active payout compound on screen. If price stays inside the calculated barrier, your live contract balance steps up according to your chosen Growth Rate. If your take profit threshold is reached, the bot automatically closes the trade, locks in gains, and pauses briefly before initiating the next automated sequence.
Choosing the right Growth Rate depends entirely on market variance and your targeted tick duration. A lower rate gives your trade room to breathe; a higher rate demands immediate, tight range consistency.
| Growth Rate | Payout Increase per Tick | Range Barrier Cushion | Target Tick Window | Trader Profile / Use Case |
|---|---|---|---|---|
| 1% | 1.00% compounding | Maximum width | 10 to 30+ Ticks | Trend followers seeking extended tick survival across volatile conditions. |
| 2% | 2.00% compounding | Moderate-wide width | 8 to 15 Ticks | Balanced default for steady sessions on Volatility 10 or 25 Indices. |
| 3% | 3.00% compounding | Standard width | 5 to 10 Ticks | Momentum traders targeting short runs during low-volatility consolidation. |
| 4% | 4.00% compounding | Narrow width | 3 to 6 Ticks | Fast scalp setups attempting quick profit extraction over few ticks. |
| 5% | 5.00% compounding | Ultra-tight width | 2 to 4 Ticks | High-frequency scalping; high knockout frequency paid off by rapid compounding. |
I recommend starting your testing with a 2% Growth Rate paired with a small take profit target equivalent to 5 or 6 ticks of growth. This configuration provides enough barrier width to survive typical tick noise on Volatility 10 Index while yielding meaningful compounding returns without over-exposing your stake to sudden range breaches.
Once active, you can confirm your accumulator bot demo account setup is functioning by monitoring three real-time signals on the dashboard:
Growth Rate.take profit target or hitting a price barrier knockout causes an immediate trade log entry, followed by auto-execution of the next trade order.If the bot fails to open contracts or stalls after clicking start, the underlying cause is almost always an issue with API authentication or parameter initialization. First, check your Deriv API token settings to confirm that the Trade permission box was checked when you created it; a read-only token allows balance reading but silently blocks ACCU trade placement. Second, check your balance display on the page header—if it reads zero or disconnected, re-copy your token directly from your Deriv virtual account interface. Finally, ensure your stop loss value is set higher than a single trade stake, or the safety guard will block contract initiation before the first tick fires.
Test your automated strategy risks directly on the free Accumulator Bot using virtual funds today.
If you haven't created a practice environment yet, open a free Deriv account to generate your demo API token.
Trading involves risk. Past performance does not guarantee future results.
Related: Step-by-Step Guide: How to Use Accumulator Bot for Deriv Bots
Related: Tick Picker vs Manual Trading on Deriv Rise Fall Binary Bots
Related: Accumulator Bot Settings: Configure Growth and Stops
Free automated accumulator trading bot for Deriv with take profit, target profit and stop loss controls, plus real-time chart analysis for volatility indices.
Open Accumulator Bot →To set up a demo account, you open the free Accumulator Bot and paste a demo API token generated from your Deriv virtual account. Then, you select a Volatility indices market and set your parameter limits to begin testing with virtual funds.
You generate your API token directly from your Deriv virtual account. Once you have it, you paste it into the API token input field at the top of the Accumulator Bot web interface to authenticate your session.
Deriv Accumulator contracts pay out based on tick longevity rather than price direction. Every tick the current price stays inside a calculated price range, your payout increases by your selected growth rate.
When the price steps outside the allowable range limit, it knocks out the contract and forfeits your accrued payout. The trade also ends automatically if your target profit hits or if you manually close the position.
Guides closest to this one.
Is your accumulator bot not working? Fix Deriv configuration errors, growth-rate limits, and risk control settings on BinaryBot.live today.
Complete accumulator bot api token setup guide for binary bots. Learn how to connect your Deriv API token for automated volatility index trading today.
Master accumulator bot settings on BinaryBot.live. Learn to configure growth rate, take profit, and stop loss for your deriv trading bot today.